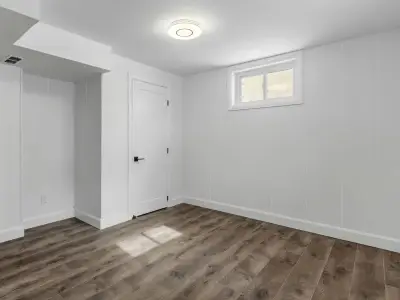
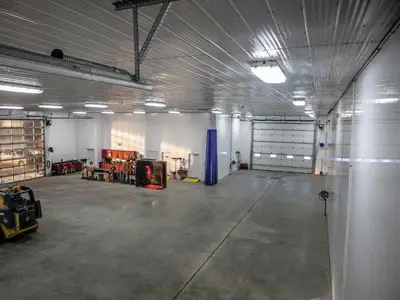
Installing Duramax PVC Panels on a ceiling follows the same direct-to-framing process as wall installations. Panels mount perpendicular to ceiling joists or furring strips spaced 16 or 24 inches on center. Begin by installing perimeter trim (such as J-trim) along the edges of the ceiling. Insert the first panel into the perimeter trim and fasten through the integrated nail flange into every joist using #8 or #10 stainless steel or corrosion-resistant truss-head or pan-head screws. Always place screws in the center of the pre-punched slots, leaving a 1/16-inch gap under the screw head to allow for natural thermal expansion. Interlock subsequent panels tongue-and-groove, securing each panel along its flange as you proceed. For high-moisture or wet environments, apply a continuous bead of 100% food-grade silicone sealant inside the tongue-and-groove channels before locking them together. For detailed step-by-step layout instructions, diagrams, and comprehensive tools lists, please refer to the official Duramax Installation Guide.
Duramax PVC Panels vs FRP – Key Advantages
No Mold, No Rot: Unlike FRP, Duramax PVC Panels won’t support mold or mildew growth.
Easy Installation: Interlocking design means no backer boards, no glue, and no extra labor.
100% Waterproof: PVC panels are completely water-resistant, ideal for high-moisture areas.
Low Maintenance: No peeling, bubbling, or cracking—just wipe clean with ease.
Cost-Effective Over Time: No need for replacement or repainting like with FRP.
Certified Performance You Can Trust

ASTM Certified: Tested for strength, durability, and environmental performance.

FDA-Compliant: Safe for use in food-processing and sanitary environments.

Class A Fire-Rated: Designed with fire safety as a top priority.

Made in the USA: Quality assured, with faster delivery and dependable service.


Duramax PVC Panels are Easy to Install
Check out this video to see just how easy and to find out the benefits of Duramax PVC Panels
Have a question? Tell us how we can help.
Sign up for updates and news